
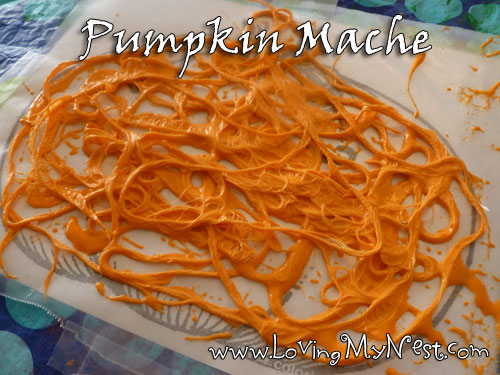
I don’t quite know what to call this pumpkin creation. It’s really like the starched snowflake Christmas tree ornaments, but not with starch. Sort of like paper mache, but not paper. I think I’ve used up the last of my creative juice for today, so pumpkin craft it is… maybe pumpkin mache?
This is messy and takes a while to dry, but super fun. I have some major plans for adaptations at Christmas time… keep an eye out!
Pumpkin Craft
Yarn (Orange if you have it)
Glue
Water
Orange paint (if your yarn isn’t orange)
Pumpkin Outline
Wax paper
Mix a good amount of glue (I used about 1/4 cup) with about a tablespoon of water. If your yarn isn’t orange add a tablespoon or so of orange paint as well and mix it up in a small dish.


Tape some wax paper over the top of your pumpkin outline. I just taped the wax paper to the table, not the actual paper. Take your yarn and pull a large amount off and submerge it into the glue mixture until it’s completely covered in it. Keep a hold of the end of your yarn while you’re doing this though. Once your yarn is orange and gluey pull it out and go around the perimeter of your pumpkin. Then with the remaining yarn lay it down on the inside of the pumpkin perimeter so it is swirly and overlaps. This is really messy and both Landon’s and my hands were covered in orange glue (thus no pictures of this process)
Once you have good yarn coverage, pull the wax paper up and carefully lay it flat to dry (wax paper and all).

Our took overnight to completely dry. Once dry carefully peal the wax paper off of the yarn creation and you’ll have a stiff pumpkin that you can hang in the window. You could even make several of these and hang them as a garland on your mantle.

Comments
One response to “Pumpkin Craft”
Great ideas!